



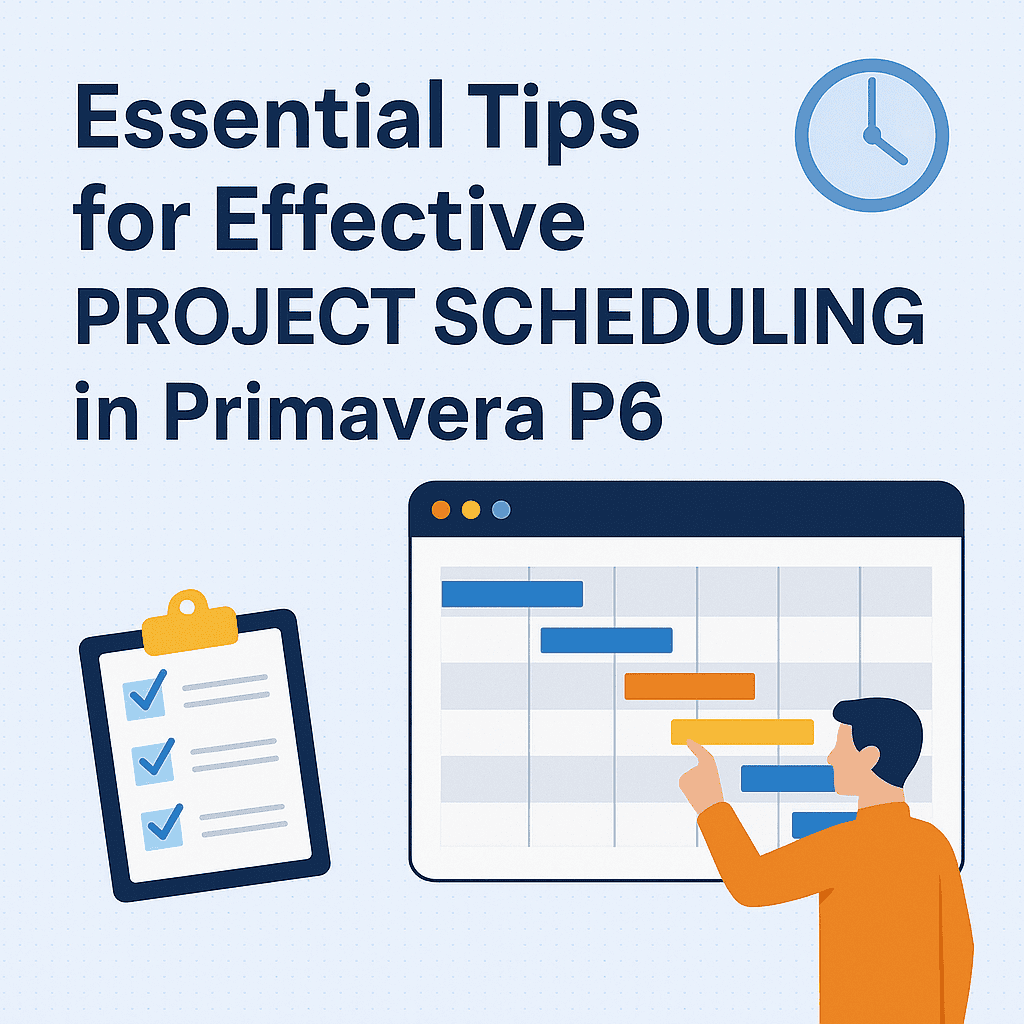
Essential Tips for Effective Project Scheduling in Primavera P6
Creating an effective project schedule in Primavera P6 can seem daunting, but with the right tips and techniques, you can master it. Let’s dive into some essential strategies that can help streamline your scheduling process, allowing you to manage your projects more effectively.
Understanding the Work Breakdown Structure (WBS)
A well-defined WBS is crucial. It breaks down your project into manageable sections, making it easier to plan, schedule, and execute.
Example:
Imagine you’re managing a construction project. Your WBS might include sections for site preparation, foundation, and roofing. Each of these sections can then be broken down further into tasks.
| WBS Section | Tasks |
|---|---|
| Site Preparation | Land clearing, Soil testing |
| Foundation | Footing installation, Slab |
| Roofing | Truss installation, Shingling |
Using Activity Codes for Organization
Activity codes in Primavera P6 help you categorize and filter activities. This makes it easier to pull reports based on specific criteria such as phase or discipline.
Think about your project’s structure and allocate these codes accordingly. For example, you could use codes like “Electrical,” “Plumbing,” and “HVAC” to quickly filter related tasks.
Setting Up Relationships and Dependencies
In Primavera P6, establishing clear relationships between tasks is vital. This is where you define how tasks relate to one another—whether one task must finish before another starts, or if tasks can run concurrently.
Example:
If your roofing task can only start after the framing task is complete, you would set a Finish-to-Start (FS) relationship.
| Task | Predecessor | Relationship |
|---|---|---|
| Framing | – | – |
| Roofing | Framing | FS |
Using Constraints Wisely
While it’s important to use constraints to keep your schedule on track, be careful not to overuse them. Too many constraints can lead to a confused schedule and misrepresentation of project flow.
For instance, applying a “Must Start On” constraint may be necessary for critical activities, but avoid using them on non-critical tasks.
Incorporating Float Management
Understanding float (or slack) is vital for optimizing resource allocation. Tasks with float can have their start or finish dates adjusted without affecting the project’s overall timeline.
Monitor these closely to reallocate resources when necessary.
| Task | Float |
|---|---|
| Framing | 10 days |
| Roofing | 5 days |
Regularly Updating the Schedule
Schedules should be living documents. Regular updates help track progress and adjust projections as necessary. Encourage your team to keep the schedule up-to-date, marking completed tasks and adding new ones as needed.
Case Study:
In a recent project, we had a major setback due to equipment delays. By updating our schedule weekly, we identified critical paths and reallocated resources, ultimately finishing just behind our original deadline—successfully minimizing impact.
Engaging Team Members in the Scheduling Process
Incorporating team input when developing the schedule can lead to more buy-in and ultimately, better adherence to it. Everyone will feel more responsible when they have a say in the timeline.
Use collaborative tools within Primavera P6 to allow team members to contribute directly.
Utilizing Primavera P6 Reporting Features
Leverage the reporting capabilities in Primavera P6. These features can create customized dashboards that give you real-time insights into project health, helping keep stakeholders informed.
Emphasizing Resource Leveling
Resource leveling helps avoid over-commitment on teams and equipment. Use the resource leveling tools in Primavera P6 to evenly distribute your resources, preventing exhaustion and project delays.
| Resource | Initial Allocation | Leveling Outcome |
|---|---|---|
| Crew A | 5 days | 3 days |
| Equipment B | 4 days | 2 days |
Scheduling for Quality Control
Integrate quality control checkpoints into the schedule. For example, after the completion of the site preparation, have a designated review period before moving onto foundation work. Quality should never be an afterthought.
Tracking Progress Using Baselines
Set project baselines to measure your current project state against your original plan. This will help you identify variances early and apply corrective measures before they escalate.
| Baseline | Current Finish Date | Original Finish Date |
|---|---|---|
| Baseline 1 | 30 days | 28 days |
Collaborative Scheduling Using Primavera P6
Consider utilizing Primavera P6’s collaboration tools. These allow for open communication among all project stakeholders, fostering a culture of transparency.
Linking your schedule with project management tools can enhance collaboration.
Stay Educated on New Features
Primavera P6 regularly updates its software capabilities. Stay current with online training workshops and webinars. This not only enhances your skills but also optimizes your project scheduling processes.
FAQs
1. What is the best way to start a schedule in Primavera P6?
Begin with a detailed WBS. This helps you create a clear structure from which to build your schedule.
2. How can I improve collaboration among team members in scheduling?
Utilize Primavera P6’s collaborative features such as task assignments and comments to keep communication open.
3. What are constraints, and how should I use them?
Constraints dictate the start and finish of tasks. Use them sparingly on critical tasks to ensure flexibility.
4. How do I handle resource conflicts?
Use the resource leveling feature in Primavera P6 to automatically resolve over-allocations.
5. Why is it important to track progress against baselines?
Tracking baselines allows you to measure performance and identify areas needing adjustment, helping to keep the project on track.
To enhance your Primavera P6 experience, consider exploring Primavera P6 services, tools, and templates available online.
With the right approach and tools, scheduling projects in Primavera P6 can be streamlined and effective! Happy scheduling! 🎉